Clear Baby Monitor Sound Through Walls: Transmission Guide
By Hana Ito • 1st Jan

Nothing disrupts precious sleep quite like straining to hear your baby through a static-laced or broken audio feed. When baby monitor sound transmission fails at 2 a.m., it's not just inconvenient, it steals your confidence when you're most vulnerable. This guide walks you through optimizing audio monitoring in your specific home environment using plain steps that work with your existing routines, not against them. Let's build a system that fades into the background until you truly need it.
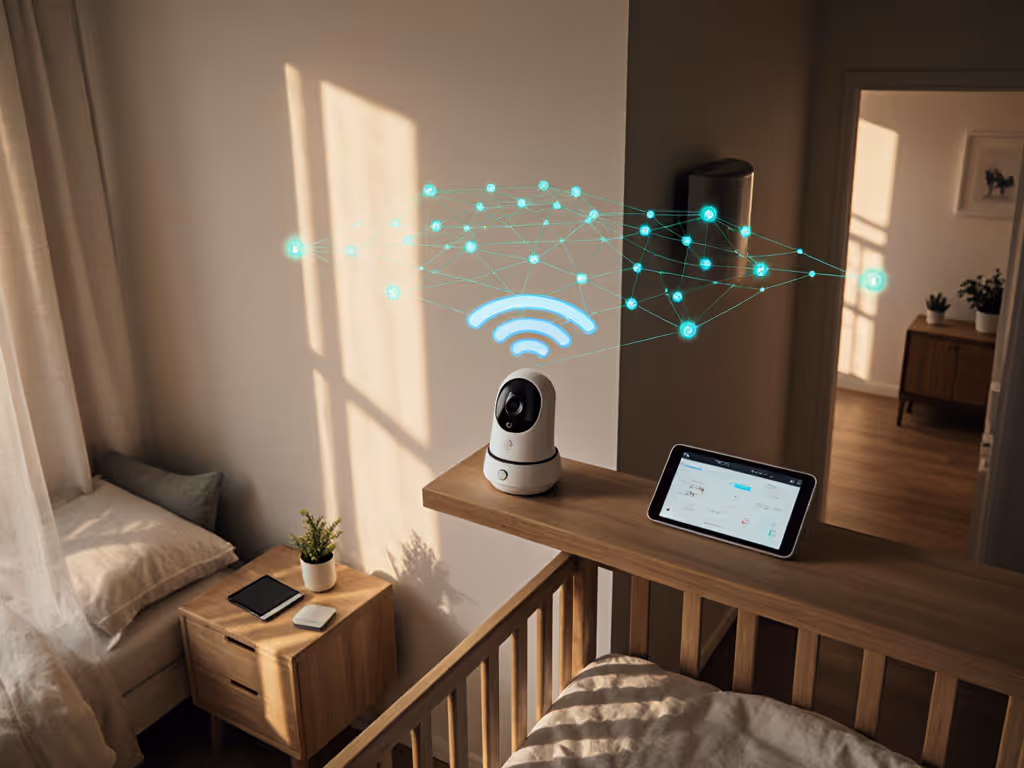
Why Your Monitor Might Be Struggling (Sound Wave Physics Simplified)
Sound waves behave differently than light, especially when traveling through solid materials. Lower-frequency audio (like a baby's cry) penetrates walls better than higher frequencies, but physical barriers still absorb and scatter the signal. Audio penetration through walls depends on three factors:
- Wall composition: Drywall allows better transmission than brick, concrete, or plaster
- Wall thickness: Each additional layer (like insulation) diminishes signal strength
- Distance: Physics dictates signal weakens over space regardless of obstacles
A monitor that works perfectly across an open-plan kitchen might falter between floors in a traditional home. This isn't a "fault," it's predictable physics. Understanding this helps us work with your home's layout rather than fighting it. For construction-specific strategies, see our guide to signal range by home construction.
Six Plain Steps for Reliable Audio Transmission
Step 1: Map Your Home's Sound Pathways
Grab a floor plan sketch (even hand-drawn) and mark these points:
- Sound source: Where your baby sleeps
- Listening zones: Where you typically monitor (bedroom, kitchen, backyard)
- Physical barriers: Note wall types between zones (concrete basement walls? Metal studs in newer builds?)
- Electronic neighbors: Locations of routers, microwaves, cordless phones
This 5-minute assessment prevents hours of troubleshooting later. A family I worked with discovered their "dead zone" was actually caused by a hidden refrigerator wall; repositioning the unit just 18 inches solved months of frustration.
Step 2: Choose Your Technology Strategically
Not all monitors handle audio penetration through walls equally. Here's how common technologies compare:
| Technology | Best For | Wall Penetration | Interference Resistance |
|---|---|---|---|
| DECT 6.0 | Multi-story homes | ★★★★☆ | ★★★★★ (Dedicated frequency) |
| FHSS | Apartments/dense areas | ★★★☆☆ | ★★★★☆ (Frequency hopping) |
| WiFi | Tech-comfortable users | ★★☆☆☆ | ★★☆☆☆ (Depends on network) |
Families in plaster-walled century homes often find DECT 6.0 outperforms WiFi despite "shorter" advertised range. FHSS shines in congested signal environments like urban apartments where 2.4GHz bands are crowded.
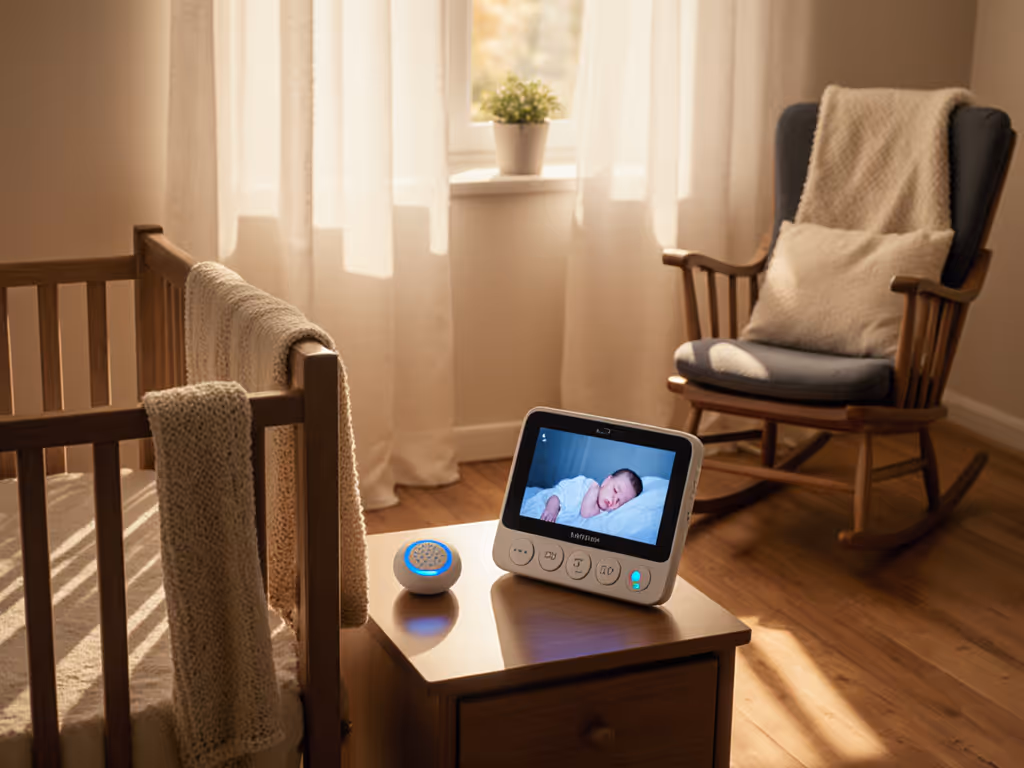
Step 3: Strategic Placement That Works With Your Routine
Improving baby monitor audio often requires just two adjustments: Get camera angles and mic pickup right with our baby monitor placement guide.
- Elevate both units: Place camera and receiver at head-height (not floor level)
- Avoid signal blockers: Keep units away from:
- Large appliances (fridges, washers)
- Metal objects (bed frames, filing cabinets)
- Water sources (fish tanks, plumbing walls)
In split-level homes, position units near stairwells rather than at extreme ends of hallways. For multi-story homes, place units on the same side of the house vertically (e.g., both near front windows) rather than directly above/below.
Step 4: Tune Microphone Sensitivity for Nighttime Clarity
Most parents overlook this critical setting. Baby monitor microphone sensitivity needs different configurations for day versus night:
- Daytime: Higher sensitivity to hear coos through open doors
- Nighttime: Slightly reduced sensitivity to ignore distant sounds while capturing cries
Look for monitors that let you save presets, this is where many tech-heavy systems fail exhausted parents. If you're comparing models for clean speech and noise suppression, start with our audio clarity tests. One caregiver I advised switched from a smartphone app to a dedicated unit simply because it had physical volume buttons she could adjust by touch at 3 a.m.
Step 5: Create a Night-Ready Handoff Protocol
Shift-working families especially benefit from consistent handoff procedures. My recommended approach:
- Two-line verification: At shift change, caregiver writes: "Monitor on. Night mode active. Last check: [time]"
- Physical indicator: Place a colored sticker on the parent unit matching the night-shift color
- Quiet test: New caregiver verifies audio by whispering near baby before leaving nursery
This simple ritual eliminates the "Did I turn it on?" anxiety that plagues exhausted parents. It's the kind of caregiver handoff tip that transforms monitoring from a chore into a confidence-builder.
Step 6: Establish Your Monthly Check-In Routine
Optimizing audio monitoring isn't a one-time setup. Set a recurring calendar alert for these quick checks:
- Test battery life (replace before it dips below 50%)
- Verify placement (has furniture rearrangement created new barriers?)
- Clean microphone ports (dust buildup degrades baby monitor sound transmission)
- Confirm sensitivity settings match current sleep arrangements
A single 3-minute check prevents midnight surprises, especially after seasonal furniture changes or home renovations. If overnight runtime is your pain point, see our battery life guide for proven fixes and when to consider hardwired options.
Making It Stick: Your Personalized Transmission Plan
The most reliable systems I've set up for families follow this pattern: They identify one critical pathway (e.g., bedroom to nursery), optimize for that first, then expand. Trying to solve every possible scenario at once creates complexity that backfires during sleep deprivation.
Remember the family juggling sleep training and overnight shifts? Their breakthrough came not from buying new equipment, but from reducing decisions (a dedicated night unit with preset volume), positioned where both parents could verify it without waking others. Three weeks later, checking the monitor became as automatic as locking the front door. At 3 a.m., fewer decisions means more calm.
Moving Forward With Confidence
You now have a roadmap for improving baby monitor audio that respects your home's unique layout and your family's routines. The goal isn't maximum technical performance, it's consistent reliability when you're running on empty.
Consider trying just one adjustment from this guide tonight. Notice how it impacts your peace of mind during overnight checks. Over the next week, add another small refinement. Before long, you'll have built a monitoring rhythm that works so seamlessly, you'll barely notice it, until you actually need it.
Set it once, then sleep the plan.
Ready to dive deeper? Download our free "Room-to-Room Range Tester" worksheet, which helps you objectively measure your current setup's performance in just 10 minutes. No technical skills required, just a stopwatch and someone to help during baby's awake time.
Related Articles